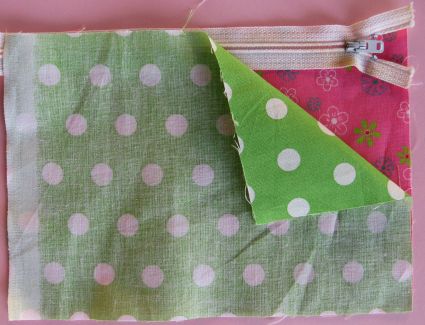
When finished and you pull fabric back it will look like this. Repeat this
for the other side(edge) of the zipper. Oops the fabric should go all the
way to the end of the zipper.
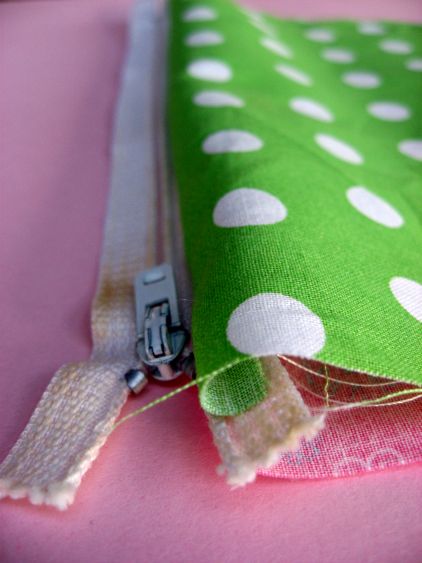
When both sides are completed it will look like this. Hopefully you will have pinned before sewing and all of your edges will match up beautifully (unlike mine). You can top stitch along the zipper now, if you like.
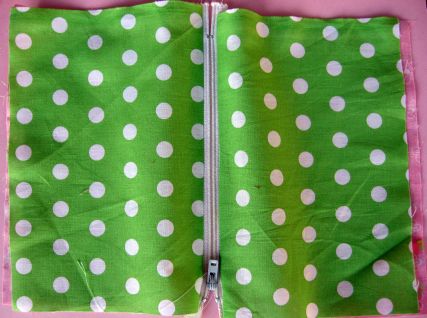
Bring both pieces of lining to one side and both pieces of your outer fabric to the other side. Un-zip zipper at least halfway so you can turn it once it is stitched. If you forget to un-zip the zipper you won't be able to turn your pouch right side out.
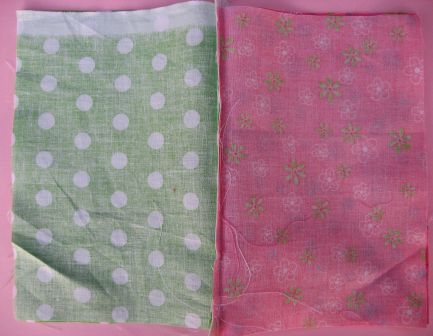
The zipper teeth should be pinned toward the lining side. I lay the zipper
ends on top of each other with teeth facing the lining side and pin.
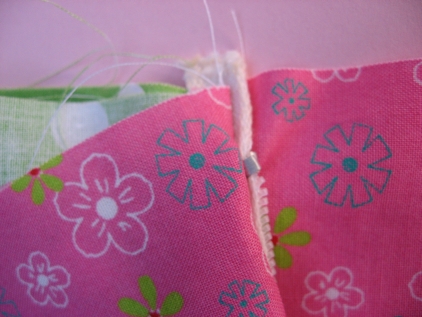
Sew all the way around 1/4 inch from the edge. Make sure you sew
on the outside of the metal parts on each end of the zipper, this will be
easy to do if you cut your fabric the total length of the zipper. Leave a
two inch opening at the bottom of the lining side. Clip corners.
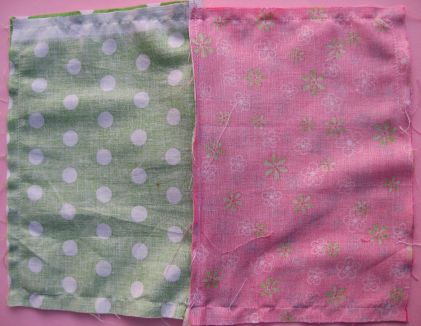
Turn right side out. Stitch opening closed by machine or slip stitch by hand.
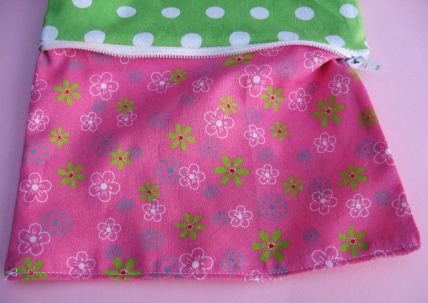
Push lining inside and you are finished!

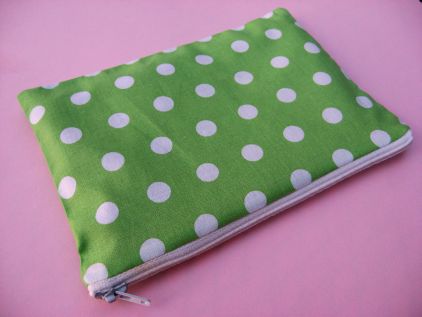
These would make cute Valentine's Day gifts with a little love note printed inside!
Nenhum comentário:
Postar um comentário